Had glorious fun recreating a warp-weighted loom for the NZ Gaidhealtachd summer school. I had tried my hand at weaving on such a loom whilst studying at Backedal folkhogskola in Sweden, but never had a chance to set one up from scratch. So it was a perfect opportunity to try it again, with a bunch of keen helpers, and together we nutted it out from instructions sent from my Backedal teacher Aja.
Firstly I got a couple of lengths of bluegum from a fallen tree at my parents place, the Treehouse in Kohukohu. It’s good to get lengths that already have a fork attached, as you can then place a rolling beam on the top to wind made cloth over, thus keeping the work in front of you.
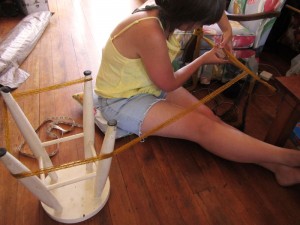
To start I set up the warp using card (or tablet) weaving, and weaving the length of the warp threads around a stool to get the correct height. Card weaving allows for a good strong band to start from, and keeps the warp threads even.
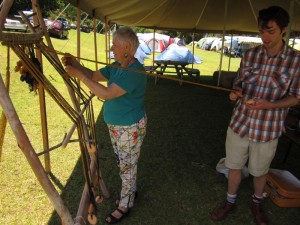
Then the finished warp is sewn onto a top beam which can be rolled when the cloth is being made. We then weighted the threads with traditional fired clay round loom weights to be able to separate the two layers of warp.
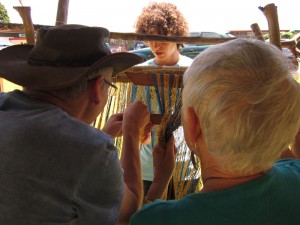
In separating the warp, every second thread went to the back and the first to the front, until we had two layers to work with. Using a check pattern helped with all the counting of threads…….
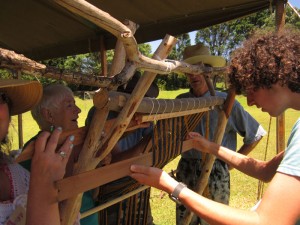
Having a few beady eyes made the process easier, and putting the weights on kept the tension.
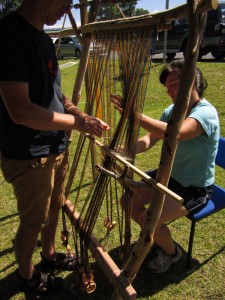
After all the fore and aft warp threads were properly sorted, we now reassigned the weights to each layer, in groups of 16 threads each. These layers were then tied with a length of string along the bottom to keep each thread evenly spaced.
Individual threads were tied around each of the back threads and then around the front heddle rod so the threads could pass back and forth. This was a time-consuming and frustrating part of the setup- and we probably would have wound them differently if doing the loom again as the uneveness slowed down weaving throughout the week.
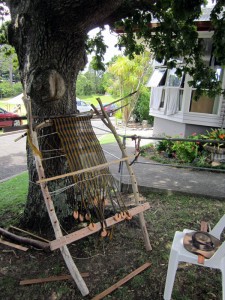
In the weaving grove the next day, we got off to a flying start and kept weaving solidly. The wool I had chosen (well, the op-shop chose for me) was a rough, strong wool. It kept sticking so we used a comb for beating. Later when we increased tension on the threads (by adding bottles filled with water) we found that we were able to use a beating rod properly, and the burrs of the wool weren’t a problem.
We routinely pinned the work and stretched the sides to keep the cloth from narrowing. This worked a bit, but not well as we’d hoped – I think longer, stronger pins (such as bone or wood) would be better.
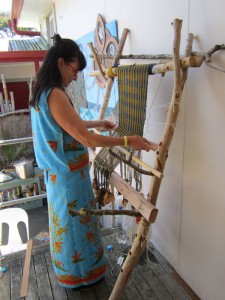
On the third day we had added water-filled bottles to the loom and it really helped with keeping tension. Nearer the end it became increasingly difficult to maintain the shed (gap between the two layers), but with a lot of man power we got there. This is an area I’m keen to find out more about.
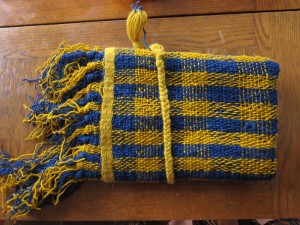
The final cloth turned out lovely – a thick, even(ish!) weave that was great to touch and looked good as a cape……… all in all the experiment was a thoroughly satisfying task – it was great to work through problems together and try different ways of doing things. It was a great friendship building exercise! Lots of laughs and philosophical conversations about how cloth was made.
Leave a Reply